
Testing Audio Auto-Trim With Silence-Documented Files
Verify silence trimming against files with exact, documented leading and trailing silence timestamps.
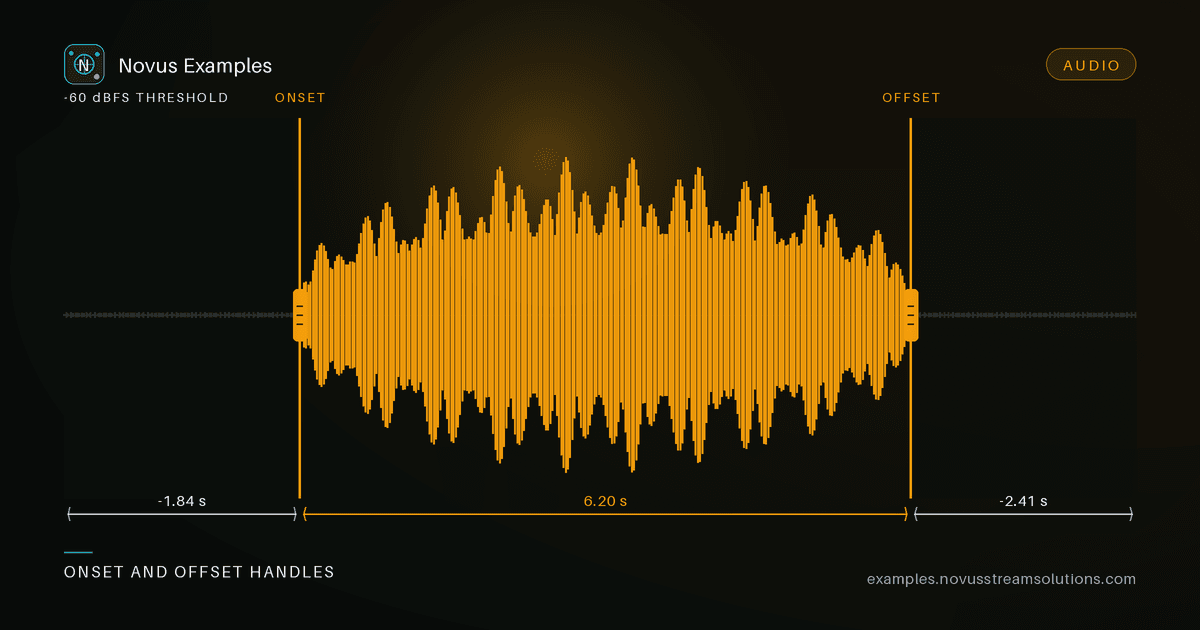
Auto-trim is the feature that strips dead air off the front and back of an audio clip so the sound starts when the sound actually starts. Under the hood it is silence detection: the algorithm scans inward from each edge, measures signal level, and marks the first and last samples that count as "not silence." Everything outside those marks gets cut. It sounds trivial until you have to prove your implementation cuts in the right place, sample for sample.
You cannot verify a trimmer against a file whose silence boundaries you are guessing at. If you feed it a podcast recording and eyeball the waveform, your test is only as good as your eyeballs. To assert correctness you need fixtures where the leading and trailing silence lengths are exact and documented, so the expected trim point is a number you can compare against, not a judgment call.
That is the whole reason to use purpose-built auto-trim test fixtures: each file states precisely where the silence ends and the signal begins. Your test becomes a simple equality check instead of a subjective review.
Two things get called "silence," and confusing them will break your tests:
- Digital silence is literally zero-value samples. Nothing. This is what synthesized fixtures give you.
- Noise floor is the low-level hiss present in real-world recordings — dither, preamp noise, room tone. It is quiet, but it is not zero.
A trimmer that only cuts exact-zero samples will fail the moment it meets real audio, because the noise floor keeps every sample above zero. That is why silence detection uses a threshold, typically expressed in dBFS (for example, anything below -60 dBFS counts as silence). Your fixtures should let you test both regimes: clean digital silence to confirm the baseline, and a documented noise-floor level to confirm the threshold behaves as configured.
Leading and trailing edges are separate code paths and deserve separate cases. Test each at multiple durations — 1s, 3s, and 5s — so a single lucky offset does not pass for the wrong reason:
- Leading silence — the gap before the tone. Use a tone with 3s leading silence and assert the trimmed output begins at the tone onset.
- Trailing silence — the gap after the tone. Use a tone with 3s trailing silence and assert the tone's tail is preserved while the dead air after it is removed.
Testing 1s/3s/5s across both edges gives you a small matrix that catches off-by-one errors, unit mistakes (samples vs. milliseconds), and edges that only work at one length.
A tone begins abruptly, but real trimmers apply a threshold and can shave the first few samples of the onset — the attack. Compare against a plain 440 Hz reference tone to confirm the trimmed signal is intact from its true first sample, not started a few milliseconds late.
Boundaries are sample positions, not vague regions. At 44.1 kHz, one sample is about 0.0227 ms. Assert on sample indices where you can; if you assert on time, allow a tolerance no looser than the sample period.
A trimmer with a single threshold will chatter on any signal that hovers near it — a fade-in, or a quiet passage between two loud ones — producing a boundary that moves depending on where the analysis window happens to land. Real implementations use two thresholds, opening at a higher level than they close, plus a minimum-duration guard so a brief dip does not split a region. If your tool exposes those knobs, assert on their behaviour directly: a gap shorter than the guard must not create a split, and a signal that crosses the lower threshold without reaching the upper one must not open a region at all.
Take the 440 Hz tone with 3s of documented leading silence at 44,100 Hz. The tone should begin at exactly 3.000s, which is sample index 132,300 (3 × 44,100). After trimming, verify the first non-silent sample sits at that index — not 132,299, not 132,305. If it drifts, your threshold or your edge scan is off.
Browse the Audio library for the full silence-trim set, or grab the ready-made auto-trim test fixtures to wire these checks into your suite today. All files are free to use, no attribution required.
Continue this workflow
Was this article helpful?
Found an error? Send a correction.