
How to Properly Test a Denoise Filter
A repeatable way to measure denoise quality using noisy images paired with their exact clean reference.
A denoise filter that looks great on one screenshot can fall apart on the next image, and you won't notice until a user does. Eyeballing output is unreliable for a few reasons. Your monitor, viewing distance, and ambient light all change what you perceive. Smoothing that reads as "clean" is often just detail being destroyed, and mild blur is very hard to distinguish from genuine noise removal at a glance. Worse, a subjective pass gives you no number to track over time, so you can't tell whether last week's change made things better or quietly worse.
To test a filter properly, you need something to compare against and a way to turn that comparison into a score.
The single most useful thing you can have is a known-good image: the exact source that the noisy input was generated from. This is your ground truth. When you have the original clean reference image and a noisy version derived from it, testing becomes a controlled experiment. You run your filter on the noisy input and measure how close the result gets back to the clean original.
Without ground truth, you're guessing. With it, "did this work?" becomes a measurable question instead of an opinion.
Two metrics cover most of what you need:
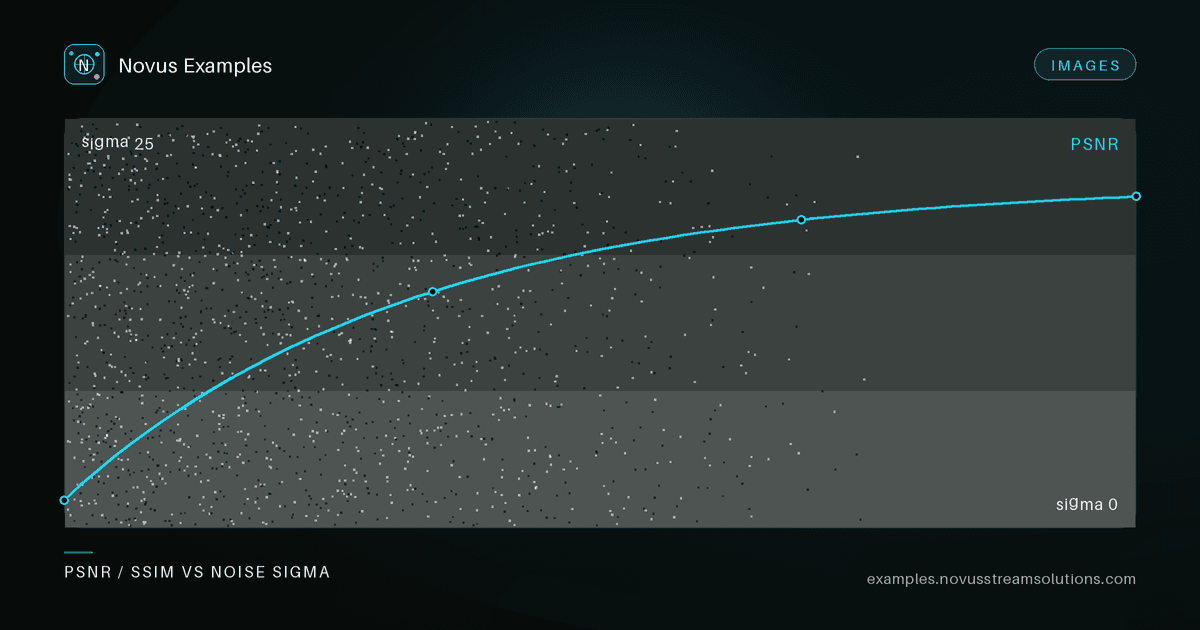
- PSNR (peak signal-to-noise ratio) measures pixel-level error against the reference. Higher is better. It's cheap to compute and good for catching regressions.
- SSIM (structural similarity) measures how well structure, contrast, and local patterns are preserved. It tracks perceived quality better than PSNR, especially when a filter over-smooths.
Report both. A filter can raise PSNR by aggressively averaging pixels while SSIM drops because it wiped out texture. Watching the two together tells you whether you're actually denoising or just blurring.
One noise level proves nothing. A filter tuned for light noise can smear heavy noise, and a filter built for Gaussian noise often ignores impulse noise entirely. Cover a matrix:
- Gaussian noise at sigma 10, 25, and 50, from subtle grain to heavy corruption. The Gaussian noise at sigma 25 fixture is a good midpoint to start with.
- Salt-and-pepper noise at 2%, 5%, and 10%, which behaves nothing like Gaussian and needs different handling. Start with salt-and-pepper noise at 5%.
Score each cell of the matrix against the same clean reference. A filter that does well everywhere is genuinely robust; one that spikes on a single case is overfit.
Noise is random, so a fixture is only useful if everyone can regenerate the exact same pixels. That's why the denoise test set images are produced with documented random seeds. A fixed seed means the noise pattern is identical on every machine and every run. Your PSNR and SSIM numbers become comparable across commits, across CI runs, and across teammates. Reproducibility is what lets a metric double as a regression gate.
One check belongs in every denoise suite and is almost always missing: run the filter on the clean reference itself. A denoiser should be close to a no-op on an image that has no noise, and many are not — they smooth away fine texture regardless of whether there was anything to remove.
Score that output against the clean reference the same way you score everything else. Anything below roughly 45 dB PSNR means the filter is destroying detail unconditionally, and no amount of good performance on the noisy variants makes up for it. This single test catches the "strong denoiser" that is really just a blur, which is exactly the failure that scores well on noisy inputs and looks terrible in production.
Here's a minimal workflow to run end to end:
- Download the clean reference and the noisy variant you want to test from the denoise test set.
- Run your filter on the noisy image and save the output.
- Compute PSNR and SSIM between your output and the clean reference, using OpenCV, scikit-image, or any comparable library.
- Record the scores alongside the noise type and strength.
Repeat step 2 through 4 for each noise variant, and you have a table that describes your filter's behavior in numbers. Wire that table into CI, fail the build when a score drops below a threshold, and every future change gets checked automatically. When a metric regresses, the documented seed lets you reproduce the exact failing image locally.
Grab the paired clean and noisy images from the denoise test set, or browse the rest of the Images library for more fixtures. Every file is free to use, no attribution required.
Continue this workflow
Was this article helpful?
Found an error? Send a correction.